The Master Guide: Zojirushi's 3-Stage Method
- Temperature Trap: Never use water above 35°C—it instantly strips the rice of its natural sweetness.
- The First Sip: Use filtered or purified water for the very first rinse, as the rice absorbs moisture fastest at this point.
- Consistency is Key: Wash the rice gently for exactly 30 seconds per cycle.
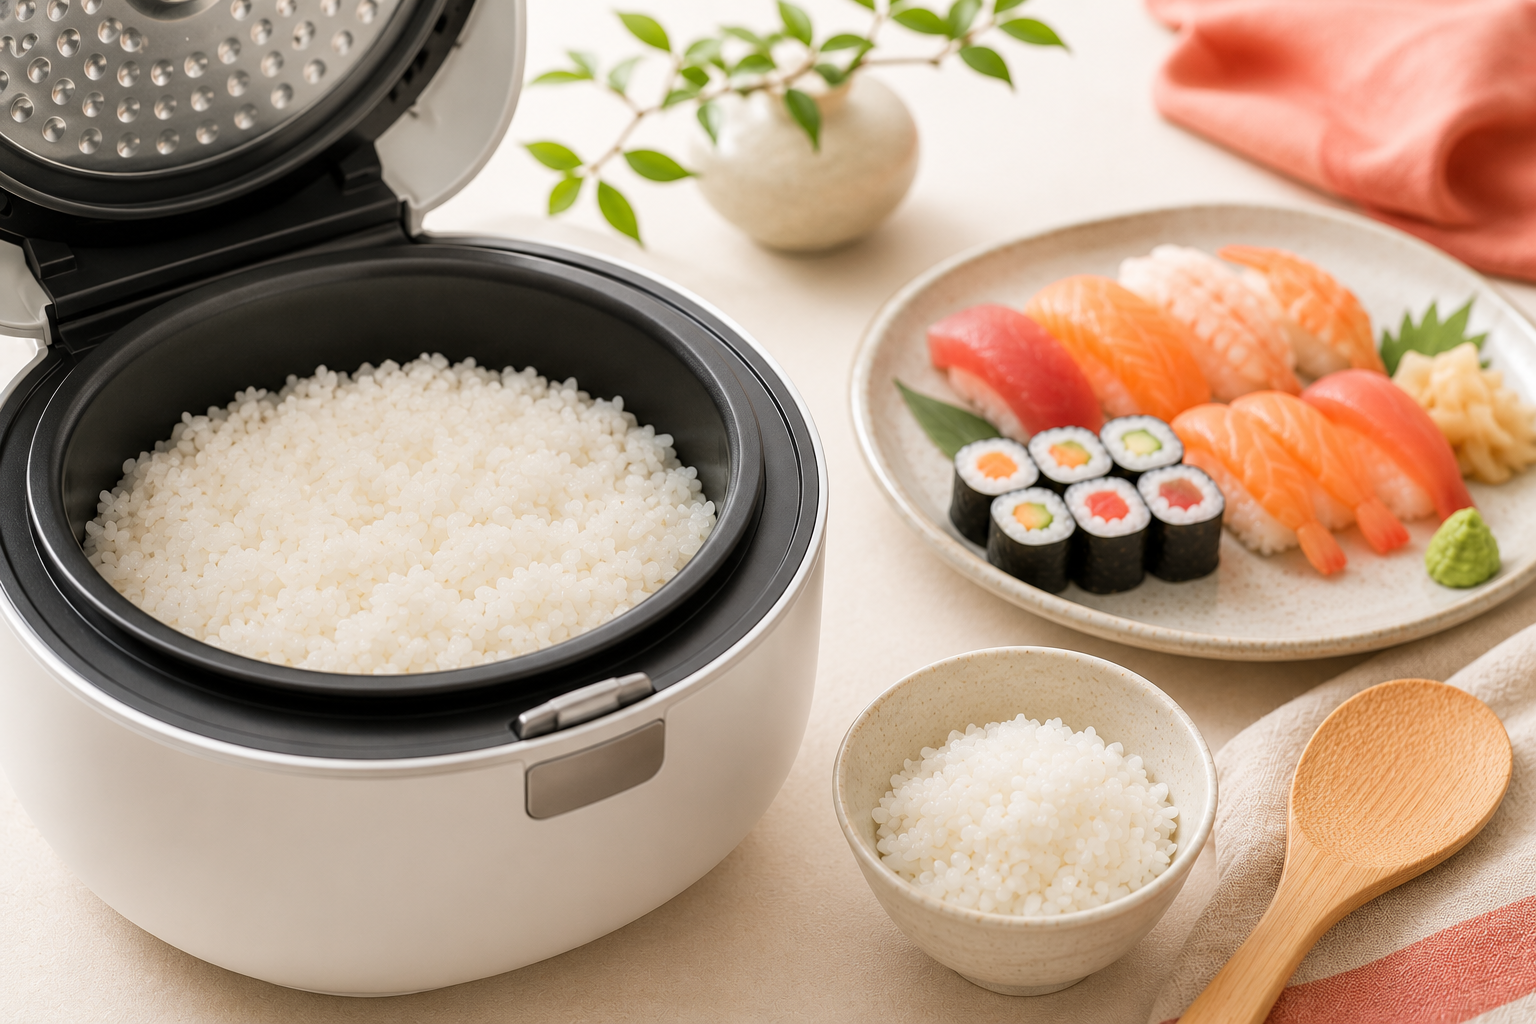
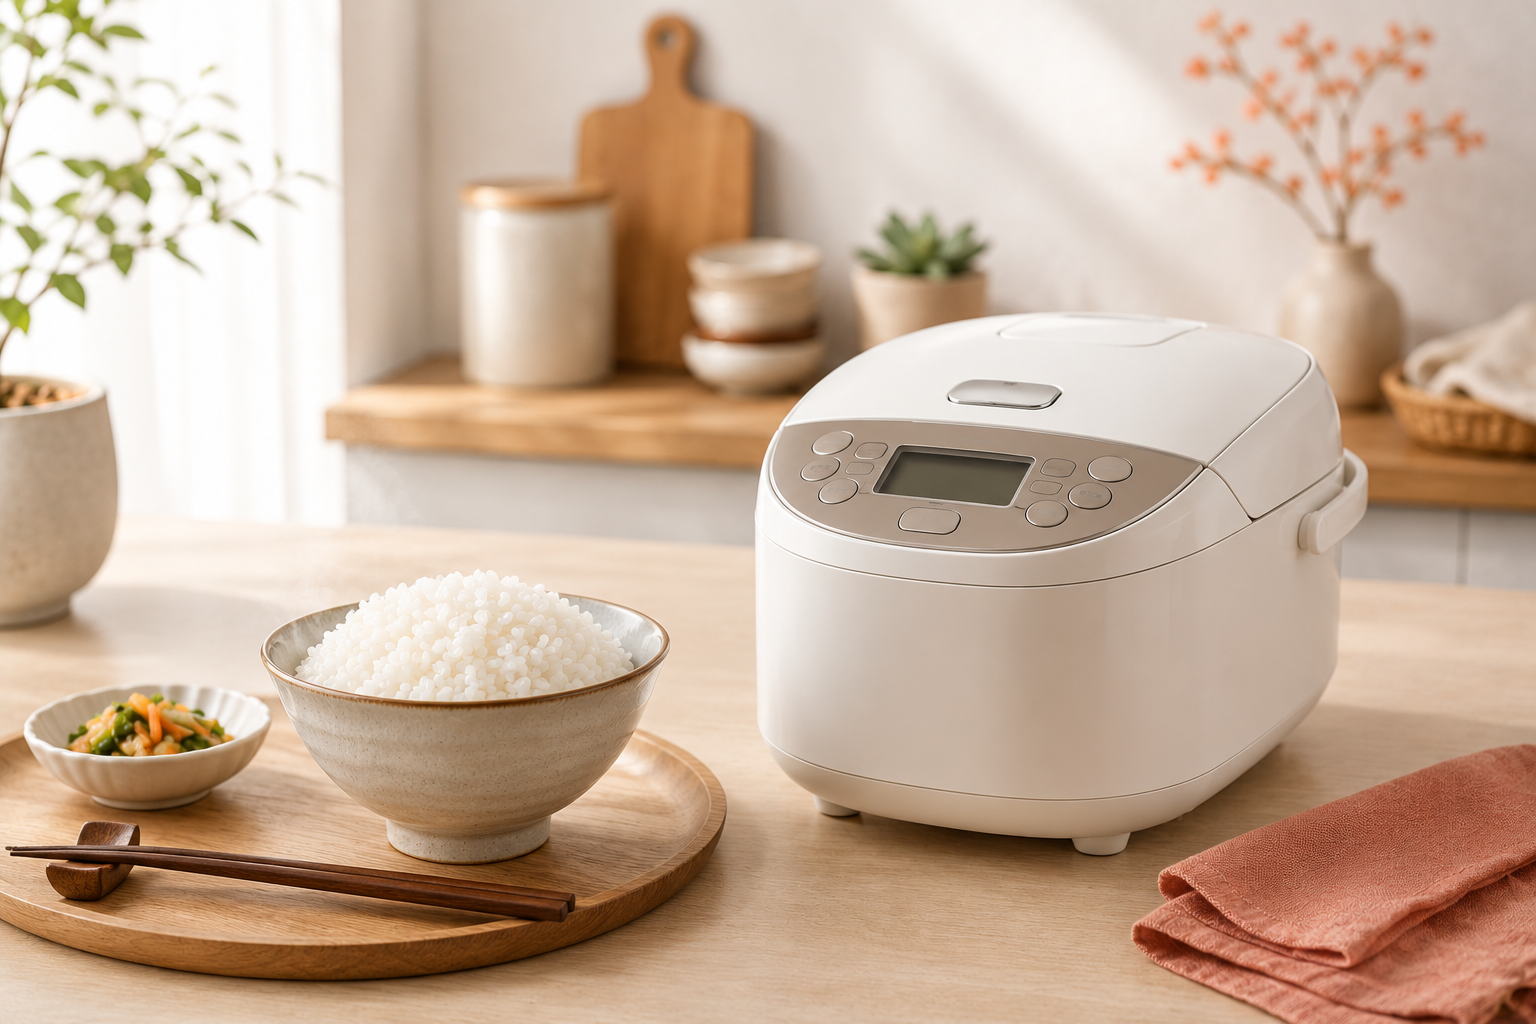
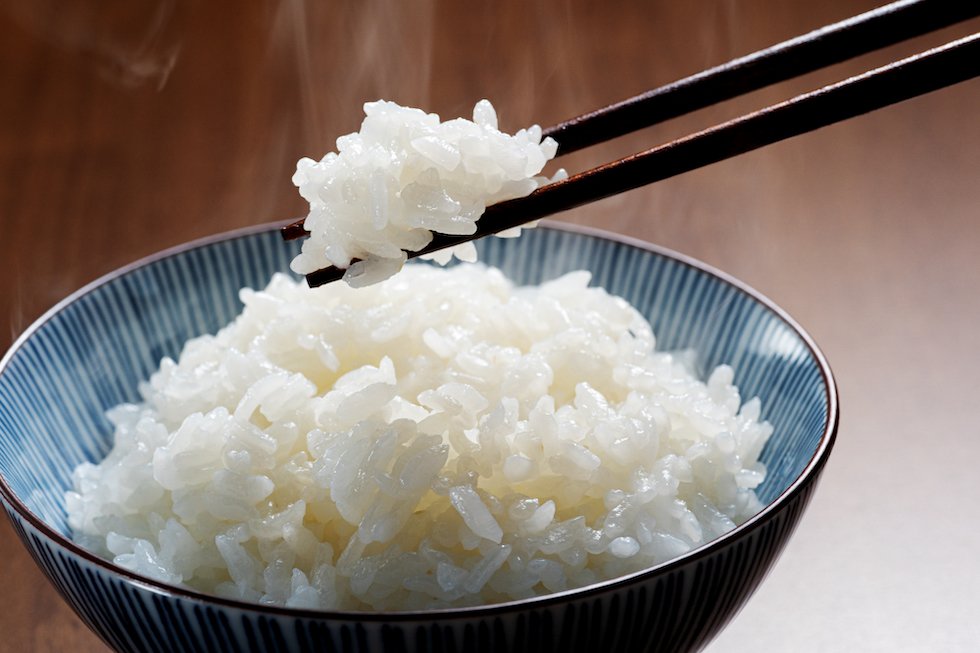
You’ve mastered the basics of using your Japanese rice cooker, but do you want to elevate your results from good to perfect? Achieving that signature glossy, sweet, and sticky texture requires going beyond simple rinsing.
We delve into the official, meticulous 3-stage washing method recommended by Zojirushi experts. This technique focuses on controlling temperature, timing, and water quality to unlock your rice’s full potential.
1. Preparation: Using the Right Cup and Avoiding the Temperature Trap
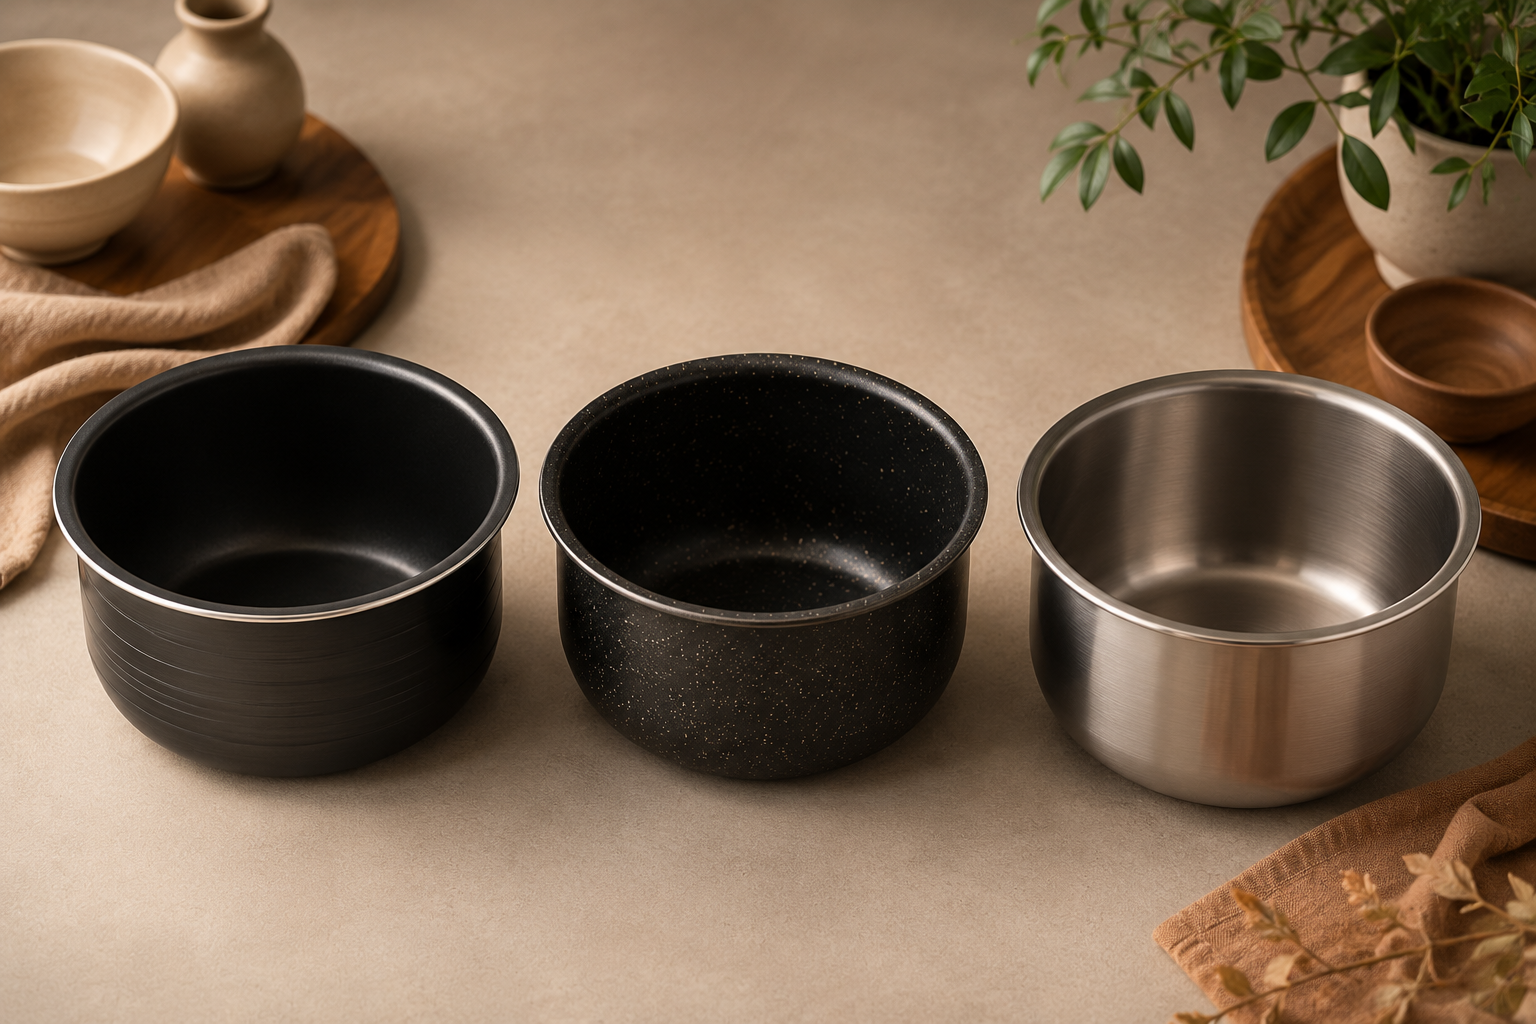
Always use the dedicated measuring cup provided with your rice cooker. It is the only way to ensure the water ratio markings on the inner pot are accurate.
If the washing water is above 35°C (lukewarm or hot), it triggers the breakdown of Amylase enzymes in the rice. This process dissolves starch and destroys the rice's natural sweetness before it's even cooked.
Always use cold water for washing, even if it feels uncomfortable on your hands in winter.
2. The Zojirushi Master Method: Three Phases in Under 10 Minutes
The goal is to wash the rice quickly and gently, removing surface impurities while minimizing damage and starch absorption. This must be completed swiftly.
Phase 1: High-Speed Rinsing (Susugi)
Dry rice absorbs the first water instantly. If this water is cloudy or dusty, the rice will absorb those impurities. This phase must be completed immediately.
- Pour in cold water (ideally filtered/purified water for the first rinse).
- Swirl 2-3 times very quickly.
- Immediately pour out the water and repeat once more.

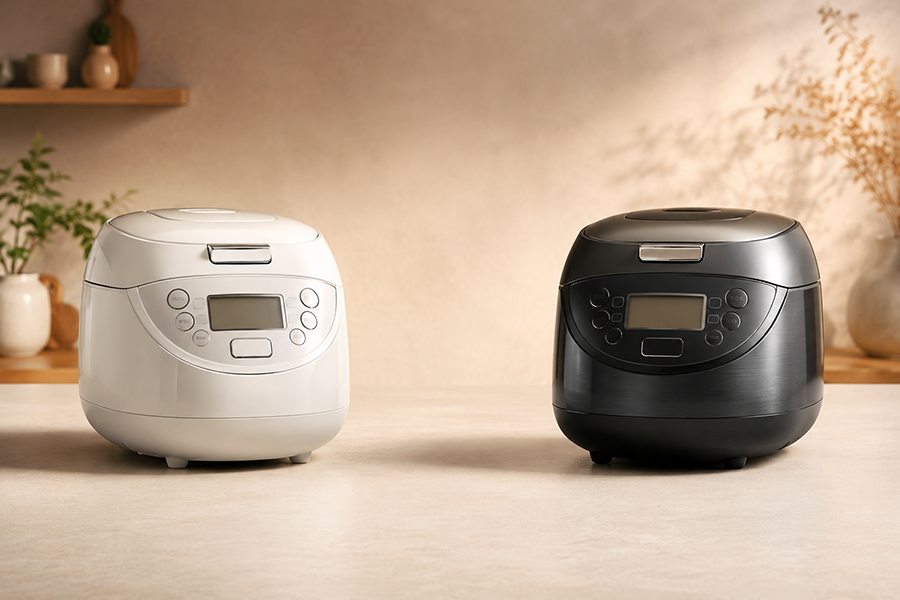
Recommended for Consistent Results
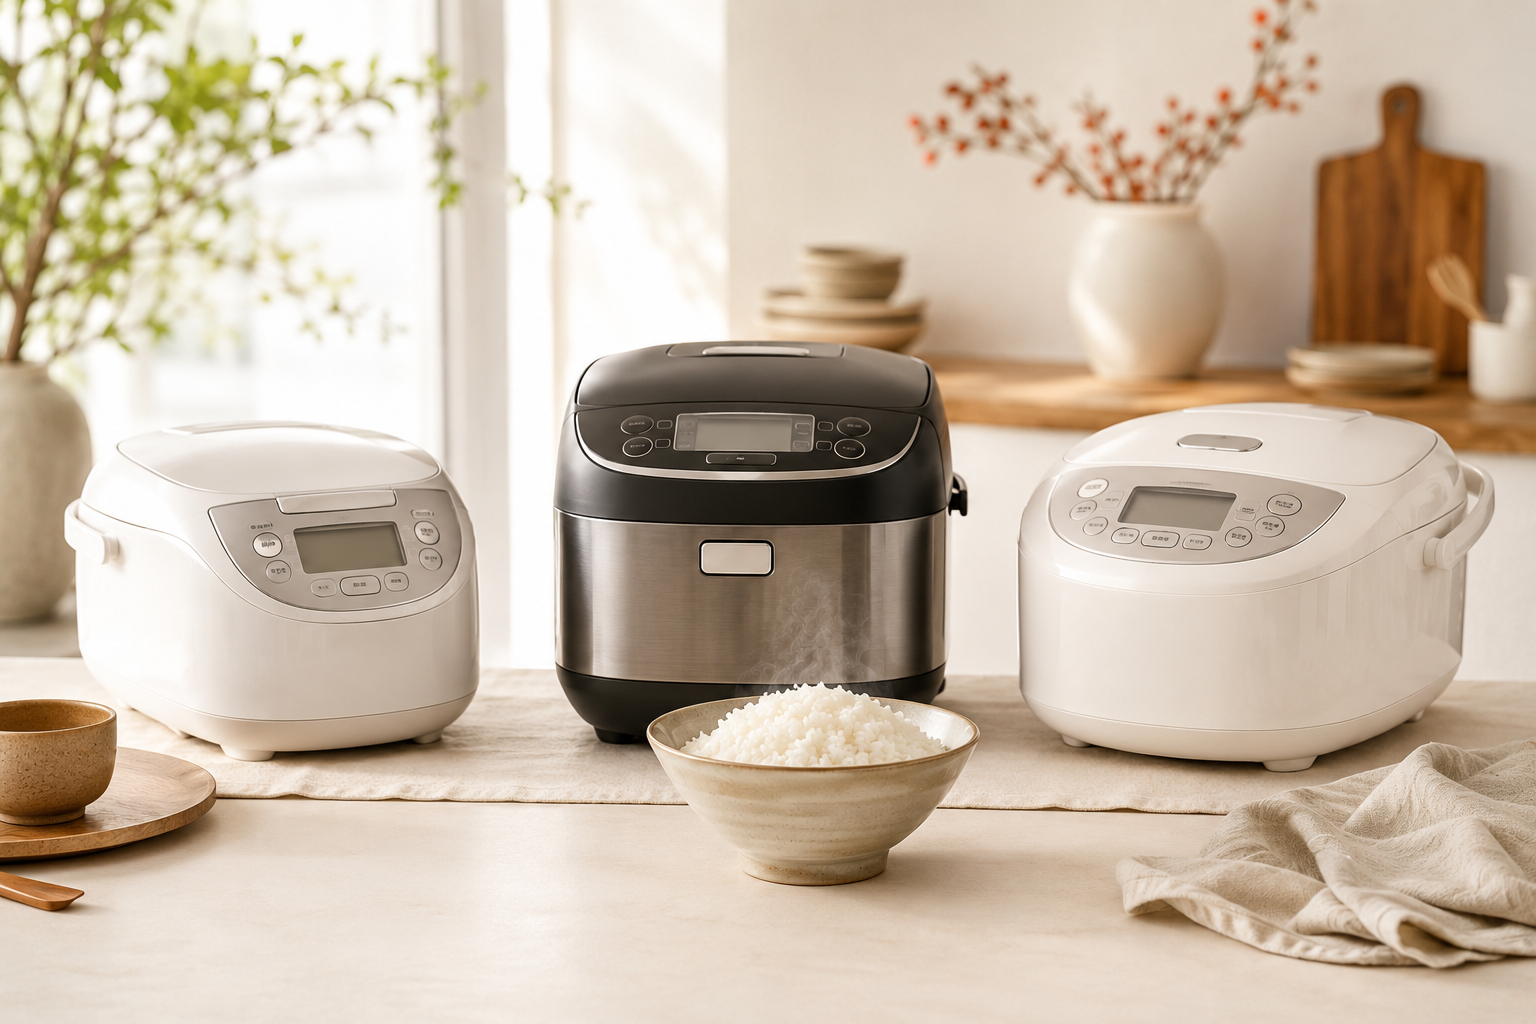
The Zojirushi NL-GAQ features Fuzzy Logic technology, making it ideal for consistent results and daily cooking perfection.
View NL-GAQPhase 2: Gentle Polishing (Washing)
This is where the surface starch is gently buffed off. Use the "claw" hand shape. The key is counting and consistency.
- Drain the water. Using your claw hand, gently rub the rice along the inner pot wall for about 30 swirls (approx. 15 seconds). You should hear a light, sandy "shush-shush" sound.
- Pour in cold water, stir 2-3 times, and quickly drain.
- Repeat this polishing cycle 2 to 4 times depending on the quantity of rice you are cooking.

Repeat the washing cycle based on the amount of rice you are preparing.
Phase 3: Final Clear Rinse (Shiage)
Quickly repeat the rinsing action (Phase 1) 1 to 2 times to remove the last of the milky water. The water should be cloudy-clear—not perfectly transparent. If it's perfectly clear, you have stripped the rice of its flavour.
3. The Perfect Finish: Water Level and Pot Protection
After washing, gently level the rice in the inner pot and fill the water exactly to the corresponding water line.
Moisture or tiny grains of rice on the outside of the inner pot can interfere with the cooker’s thermal sensors, leading to uneven cooking. Always wipe the exterior base clean before placing it into the unit.

Ensure the outside of the inner pot is completely dry before cooking.
FAQ: Common Questions
Q: Should I still use filtered water in the UK with this method?
A: Yes. While the temperature check is critical, the high mineral content of UK hard water can still hinder absorption. Use filtered water for the cooking stage for the best results.
Q: Why did my rice still turn out mushy?
A: Mushy rice is usually caused by using too much water, or washing too aggressively, which breaks the grains. Ensure you use the exact cup-to-line ratio and keep your polishing action gentle.
Ready for perfect rice?
Upgrade your kitchen with our authentic selection.
Shop Japanese Rice Cookers (UK Plug)